 crashing issue has a fix. Learn how to fix Cyberpunk 2077 GPU Gpuapidx12error.cpp(40) crashes on PC.)
The Gpuapidx12error.cpp(40) or (42) crash in Cyberpunk 2077 is one of those crashes that has been with the game since launch. It is well known crashing issue that is sometimes tied to DX12 GPU related problems. The Gpuapidx12error.cpp(40) or (42) Cyberpunk 2077 crash can happen at launch, during gameplay, and in crowded sections on the map, especially when using Path Tracing, or after enabling mods/frame generation. It affects both NVIDIA and AMD GPUs and has persisted even after major updates like 2.1 and 2.2.
There are a few fixes you can try and one of these will surely fix your game, so you won’t get the Cyberpunk 2077 GPU Gpuapidx12error.cpp(40) Error. However, run these basics before doing anything else:
- Verify Game Files
- Reinstall Visual C++ on Windows
- Update GPU Drivers
- Switch to DX11 via Cyberpunk 2077 launch options in Steam
Fix #1 – Change Steam Language
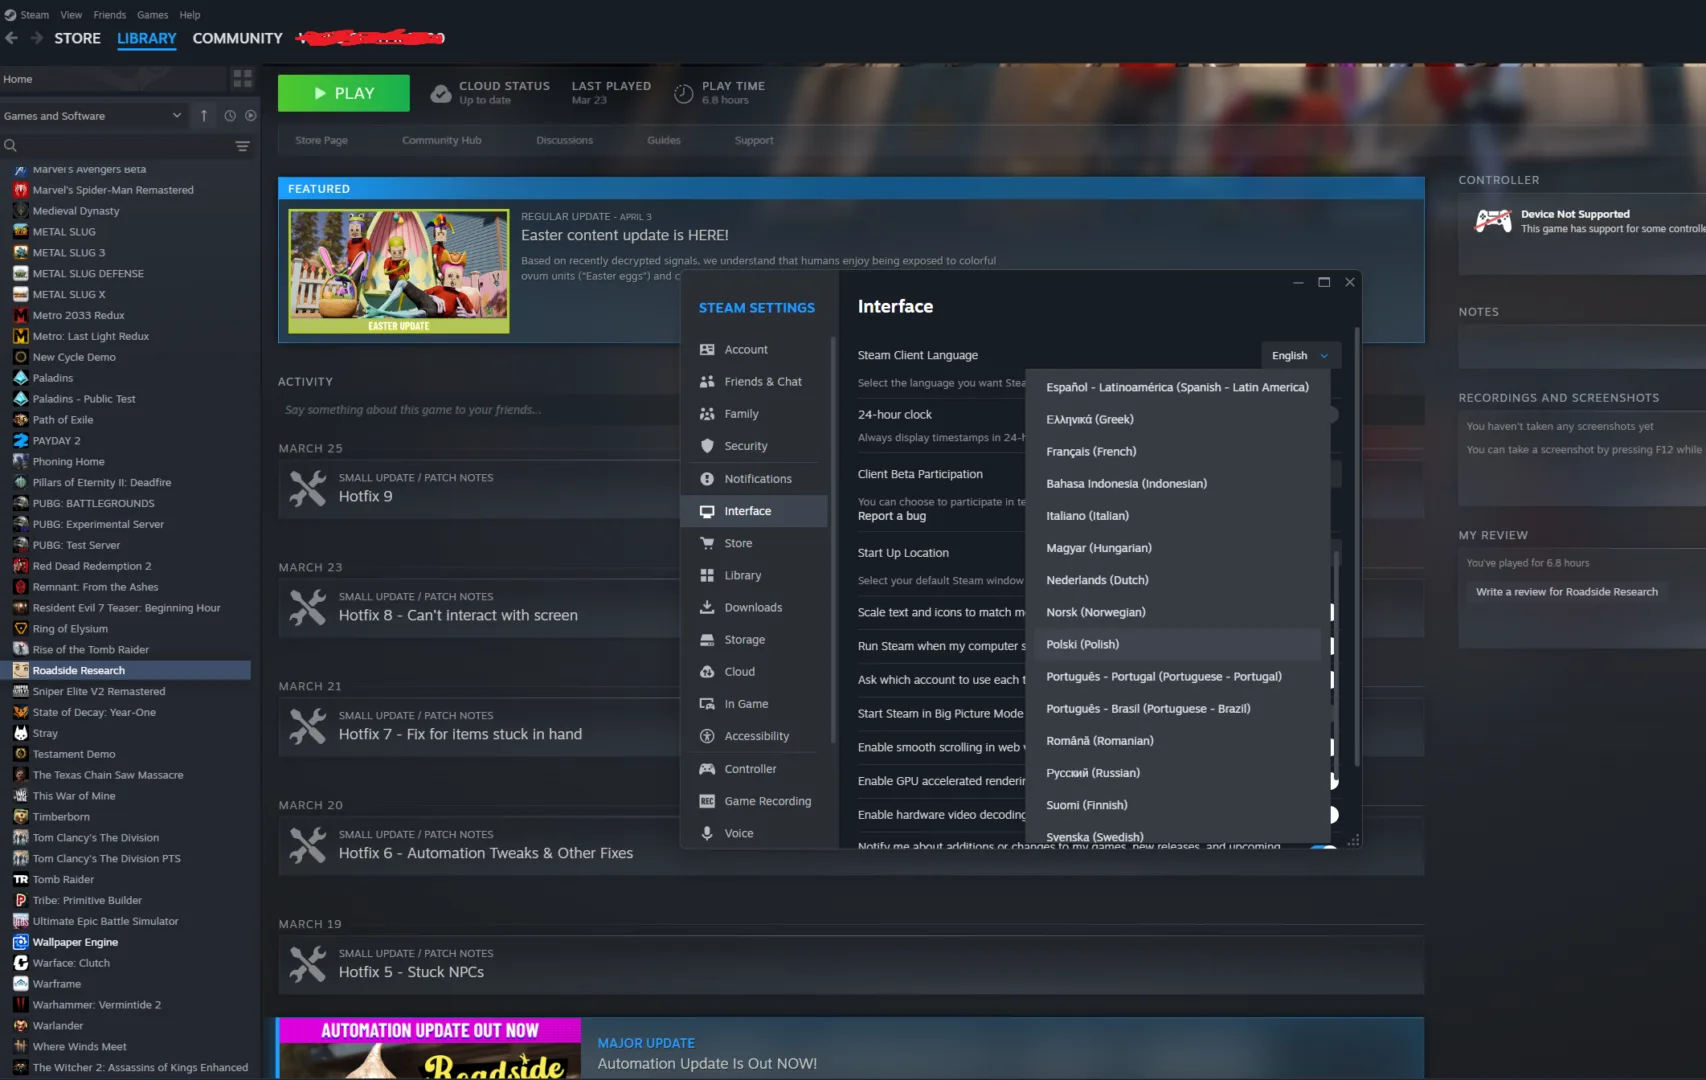
While it may sound weird, but I kid you not, many PC players report that changing Steam Interface language to Polish fixes Cyberpunk 2077 GPU Gpuapidx12error.cpp(40) crashing issue. Rest assure, changing Steam language won’t change in-game language so you can enjoy Cyberpunk 2077 in your preferred language.
- Open Steam Settings
- Go to Interface Tab
- Select Polish as your preferred language
Launch Cyberpunk 2077 as administrator and check to see if any crashing happens.
Fix 2: Clean Reinstall GPU Drivers (Highest Success Rate)
The best fix for Cyberpunk 2077 GPU Gpuapidx12error.cpp(40) crashing issue is to perform a clean GPU driver reinstall.
To perform a clean NVIDIA driver installation, download the latest driver from the NVIDIA website, run the installer, select “Custom (Advanced)” installation, and check the “Perform a clean installation” box. The second method of doing this is a deep clean through DDU (Display Driver Uninstaller).
- Download Display Driver Uninstaller (DDU).
- Boot into Safe Mode → Run DDU → Clean NVIDIA drivers completely.
- Restart normally → Install the latest Game Ready Driver (or try a slightly older stable version like 576.xx series if the newest crashes).
- During install, choose Custom → Perform a clean installation.
Use the following video guide by “Codelife” for a visual guide on how to use DDU to perform a deep clean install.
If you’re using an AMD card, use AMD Cleanup Utility in Safe Mode, then install the latest AMD drivers.